Yoav.
I love this song. Yoav is so different...so original.
This video is a bit visually challenging.
Would love to hear your comments.
Friday, July 29, 2011


Tuesday, July 19, 2011
What does an eagle sound like?
If I may engage in a bit of anthropomorphism, by their visage eagles seem serious, angry, and harsh.
![]()
To be blunt, they look really pissed off. To look at them, I imagine they are plotting some revenge...out flying around with a score to settle...watch out!
We have bald eagles all over here on the island and I usually see them every day. Before I moved to Alaska, I imagined that these majestic large predatory birds must have a screech that signals impending death...a sound like we might imagine comes from an ancient teradactyl. Or at least like a hawk:

To be blunt, they look really pissed off. To look at them, I imagine they are plotting some revenge...out flying around with a score to settle...watch out!
We have bald eagles all over here on the island and I usually see them every day. Before I moved to Alaska, I imagined that these majestic large predatory birds must have a screech that signals impending death...a sound like we might imagine comes from an ancient teradactyl. Or at least like a hawk:
But no. I was totally wrong. Eagles do not sound majestic nor dangerous nor even masculine. Eagles surprisingly sound like girly birds chattering at some coffee klatch:
They woke me up the other morning with all their incessant squeaking and chattering. I thought to myself that many people probably aren't aware of the silly sound they make, so decided to share.
Did you know?
Thursday, July 14, 2011
Voices as Ethereal Instruments (aka Ear Candy)
Take a listen to this! Oh my! So amazing....especially towards the middle where the mix of voices grow.
This lends itself to being listened to loudly on headphones.
I would say if you like Enya and that type of music, you are in for a treat! Take a listen to Alice by the Cocteau Twins.
This lends itself to being listened to loudly on headphones.
I would say if you like Enya and that type of music, you are in for a treat! Take a listen to Alice by the Cocteau Twins.
Haunting and lovely.
Tuesday, July 12, 2011
Blonde in Shadows

This is by my friend, Myrna Rooker who lives here in Ketchikan. Myrna worked for me in a construction office years ago. She was such a fun, original person...I truly enjoyed her company. However, it was sometime after she had left that job that I ran across this sketch and was blown away! I had no idea that Myrna was hiding such talent! I love the look in this woman's eyes.
Thanks for allowing me to post, Myrna!
Thursday, July 7, 2011
My Backyard

My backyard looked so lovely this weekend, I just had to share. My husband wants to get the weedeater out and mow all the grass down, but I love the wild meadow feel of it. We own that little patch of forest that the path leads to...but unfortunately we will be cutting most of it down to build a small one bedroom cottage. Sorry beautiful fairy forest. :(

Monday, July 4, 2011
Soapmaking Part 3
Step 5:
Make Ye the Soap
Once your temperatures are correct (or close), return the pot of fat to the stove, but do not turn on. Slowly pour the lye mixture into the fat stirring gently until fully mixed. The soap mixture should turn opaque.


Now it is time to stir! You can stir briskly by hand for about 20 to 30 minutes, or use a stick blender for about 15 minutes. When using the stick blender, just turn it on occasionally and run for about 30 seconds. Then use the stick blender in the off position as a spoon to stir the rest of the time.


The tricky part is knowing when the soap is done. You look for the consistency. You want to add the essential oil when the mixture "traces". Tracing means that when you pull the spoon across the mixture, it leaves a trace on the top for a moment. My mixture this time actually was a bit over-stirred. Usually you are going for a consistency kind of like honey. Here is mine that is more like pudding:


However, it still turns into soap. Just add your essential oils and stir until blended. I used spearmint, bergamot, and tea tree in this batch. Then pour into your mold.


Cover immediately and wrap with towels or blankets to keep warm for 48 to a week.


After 48 hours, remove blankets and cover and let air out for about another week or two. When you first remove the lid, it will be smelly. The smell of the fats dissipates over time.

After 2 - 3 weeks, the soap is ready to cut. I don't like to wait any longer as it continues to harden and becomes harder to cut. Pop it out of the mold and slice with a sharp knife. If you want precision cuts, you can use a miter box.


Set the bars of soap in a container to dry for at least a month. I like my soap best when it has seasoned for three or more months. It loses the last trace of fatty scent and becomes harder and dryer so that it doesn't disappear so fast in the shower.


Here is a wonderful website where I got my recipe and much information.
I know this whole process sounds very involved but, now that I know what I am doing, it only takes about 2 hours and provides enough soap for my husband and I for about 3 months. Well worth it knowing that we are not only saving a little cash but we are no longer bathing ourselves in unknown chemicals.
I hope someone out there catches the soapmaking fever from this! Happy Soaping!
Soapmaking Part 2
Step 3:
Mix the Lye
Now we come to the somewhat hazardous part of the process: working with the lye. Lye is an element derived from wood ash. It will burn you and you do not want to inhale it.
I use a large beer mug.
I usually do this part outdoors because of fumes. Gather the following and head outside:
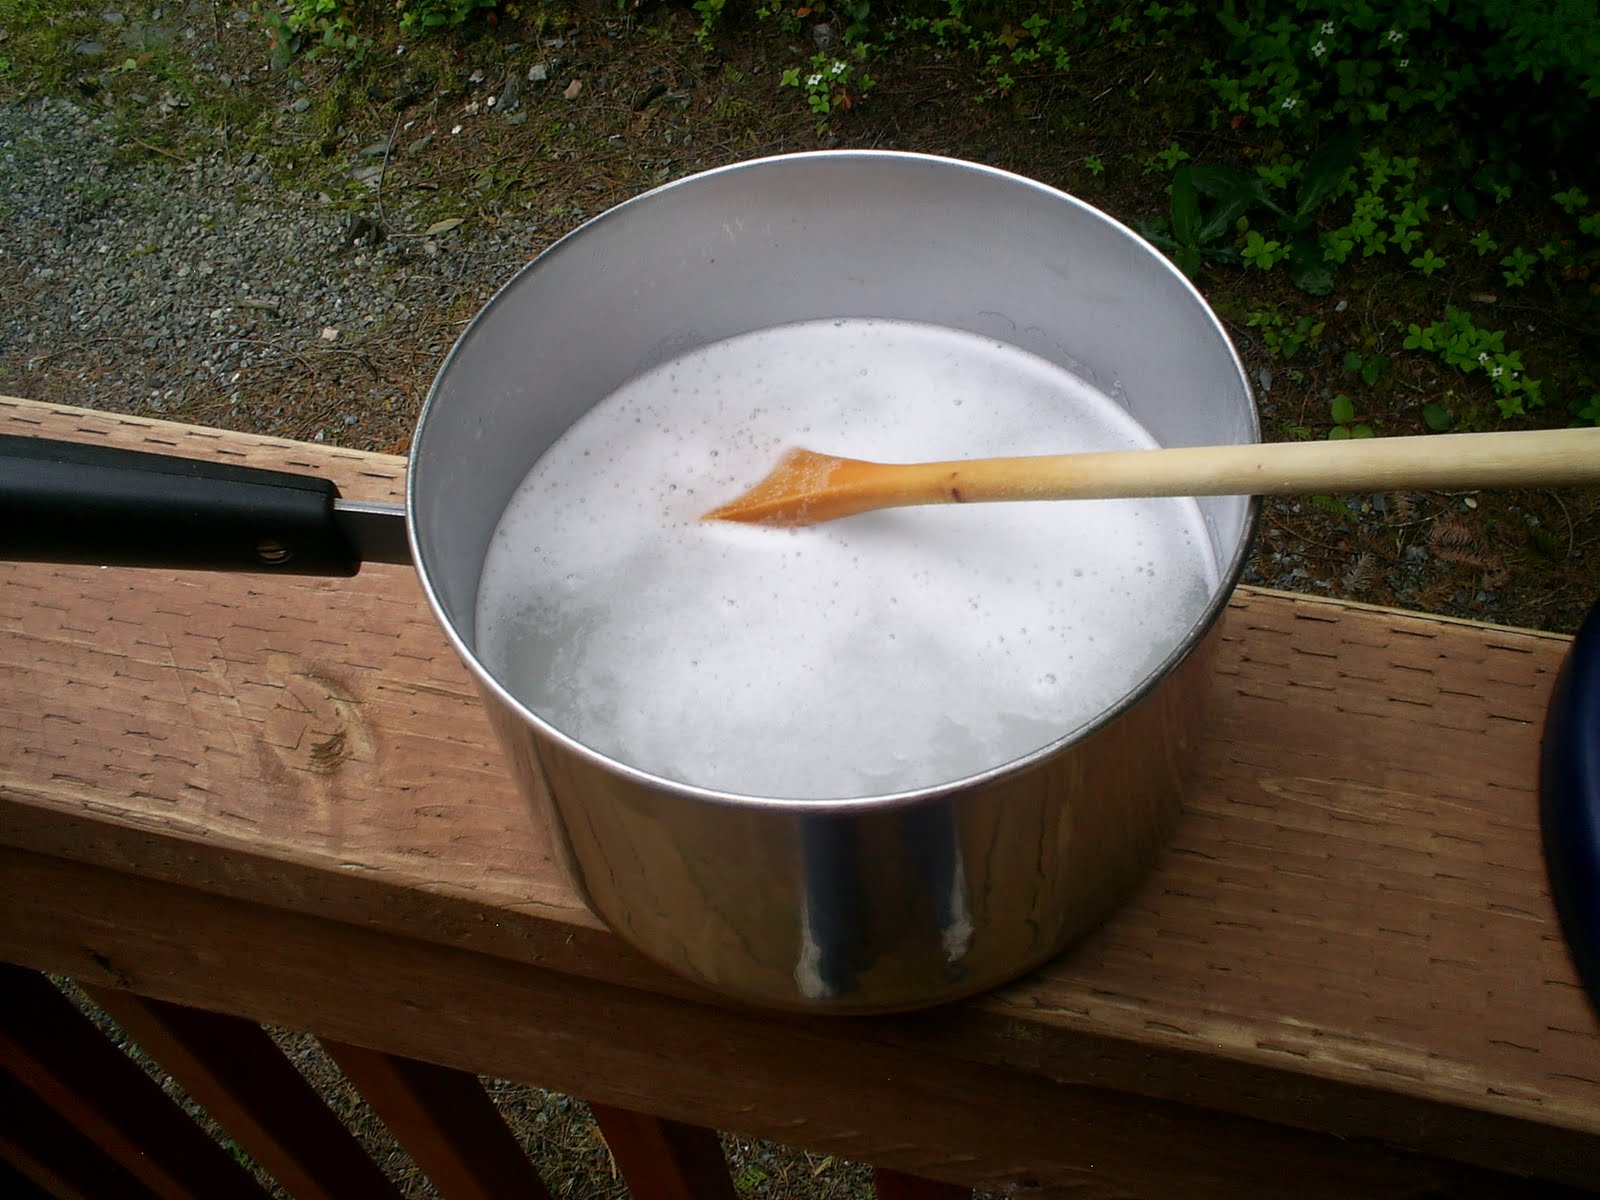
5 cups very cold water in a medium saucepan
Scale
Wooden soapmaking spoon
Lye
Container to measure lye
Long dishwashing gloves
Long dishwashing gloves


First, put the beer mug (or whatever you are using) on the scale empty and either hit tare to zero the scale out or add the weight of your beer mug/container to the 13 oz of lye you need.


Next, PUT ON YOUR GLOVES. Some people also use safety glasses, but I think that is a bit overboard.
Pour the lye into the beer mug/container until the scale reads 13 oz (or the mug weight plus 13 oz if you didn't tare the mug).


Now slowly pour the lye into the cold water and stir gently. Avoid inhaling the fumes...I always stand upwind of it as I add and stir. The mixture will get slightly bubbly and cloudy for awhile. Stir until fully dissolved. The temperature of the mixture will shoot up and become quite hot. After a few minutes, the mixture will turn clear and the fumes will stop. Take everything back inside.
It is very important that you always add the lye to the water, not the water to the lye.

Step 4:
Temperature Control
Now, you have your pan of melted fat and your pan of lye. Here is where your handy thermometer comes into play! You need to bring the temperatures down before combining them. You will want the fat to be about 105 degrees F and the lye to be about 83 degrees F.
To achieve this, you can either wait until they cool or put them in an ice bath for a bit. The ice baths will bring the temps down fast, so keep an eye on them.


Subscribe to:
Posts (Atom)
